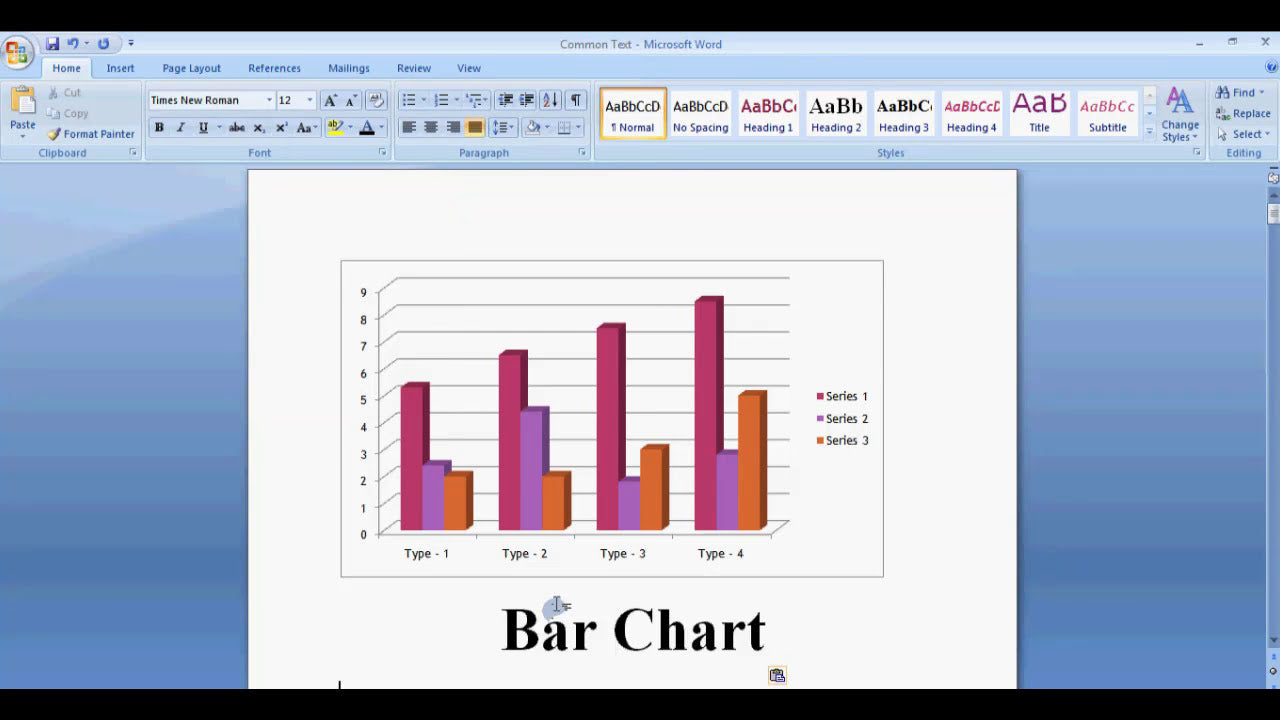
SmartArt graphics in Microsoft Word provide a powerful way to visually communicate ideas, processes, and relationships. Customizing SmartArt allows you to tailor these graphics to better fit your document’s style and purpose, making your content more engaging and professional. Whether you're looking to change colors, layouts, or add your own creative touches, understanding how to customize SmartArt enhances your document design skills. In this guide, we will walk through the essential steps to personalize your SmartArt in Microsoft Word effectively.
How Do I Customize Smartart in Microsoft Word?
1. Inserting a SmartArt Graphic
Before customizing, you need to insert a SmartArt graphic into your Word document:
- Go to the Insert tab on the Ribbon.
- Click on SmartArt in the Illustrations group.
- Choose a SmartArt graphic that suits your needs from the categories such as List, Process, Cycle, Hierarchy, Relationship, Matrix, or Picture.
- Click OK to insert the selected SmartArt into your document.
2. Editing Text Within SmartArt
To customize your SmartArt, start by editing the text to match your content:
- Click on the SmartArt graphic to activate the SmartArt Tools contextual tab.
- Click on the Design or Format tab under SmartArt Tools.
- Use the Text Pane for easier editing:
- Click the small arrow on the left side of the SmartArt to open the Text Pane.
- Type your content into the placeholders or directly into the Text Pane.
Customizing text ensures your SmartArt accurately reflects your message while maintaining clarity and visual appeal.
3. Changing SmartArt Layouts
Different layouts can dramatically change the appearance of your SmartArt. To switch layouts:
- Select your SmartArt graphic.
- Go to the Design tab under SmartArt Tools.
- Click on Layout in the Layouts group.
- Choose from the available options to find the best fit for your content.
For example, converting a process flow into a cycle or hierarchy can make your diagram more intuitive for viewers.
4. Customizing Colors and Styles
Enhancing your SmartArt with color and style changes makes it more visually appealing:
- Select the SmartArt graphic.
- Navigate to the Design tab under SmartArt Tools.
- Use the Change Colors button to select a color scheme that matches your document theme or branding.
- Apply a SmartArt Style from the gallery to add effects like shadows, reflections, or 3D effects.
- Hover over different styles to preview how they look before clicking to apply.
Consistent color schemes and styles help your SmartArt integrate seamlessly with your overall document design.
5. Formatting Individual Elements
To further customize, you can format individual shapes or text within the SmartArt:
- Click on a specific shape within the SmartArt.
- Use the Format tab under SmartArt Tools to adjust shape fill, outline, and effects.
- Change font style, size, and color by selecting the text and using the Font group on the Home tab.
- Apply effects like shadows or reflections to individual shapes for added depth.
This granular level of customization allows for a highly personalized SmartArt graphic that aligns with your design vision.
6. Adding or Removing Shapes
Sometimes, you need to modify the structure of your SmartArt:
- To add a shape:
- Select the SmartArt graphic.
- In the Design tab, click on Add Shape in the Create Graphic group.
- Choose where to add the new shape (e.g., Add Shape After, Add Shape Before, Add Shape Above, Add Shape Below).
- To remove a shape:
- Click on the shape you want to delete.
- Press the Delete key on your keyboard.
Adjusting the number of shapes helps you tailor the SmartArt to fit your content precisely.
7. Saving Customized SmartArt for Future Use
If you've created a unique SmartArt style or layout you want to reuse:
- Select the customized SmartArt graphic.
- Go to the Design tab.
- Click on Save as Quick Style to add your style to the styles gallery.
- Next time, you can quickly apply your saved style to other SmartArts.
Conclusion: Mastering SmartArt Customization
Customizing SmartArt in Microsoft Word involves a variety of techniques—from editing text and changing layouts to applying colors, styles, and formatting individual elements. By exploring these options, you can create visually compelling graphics that effectively communicate your ideas and complement your document's overall design. Remember to experiment with different configurations and styles to discover what best fits your content and aesthetic preferences. With practice, customizing SmartArt will become an intuitive part of your document creation process, helping you produce professional and engaging presentations effortlessly.
