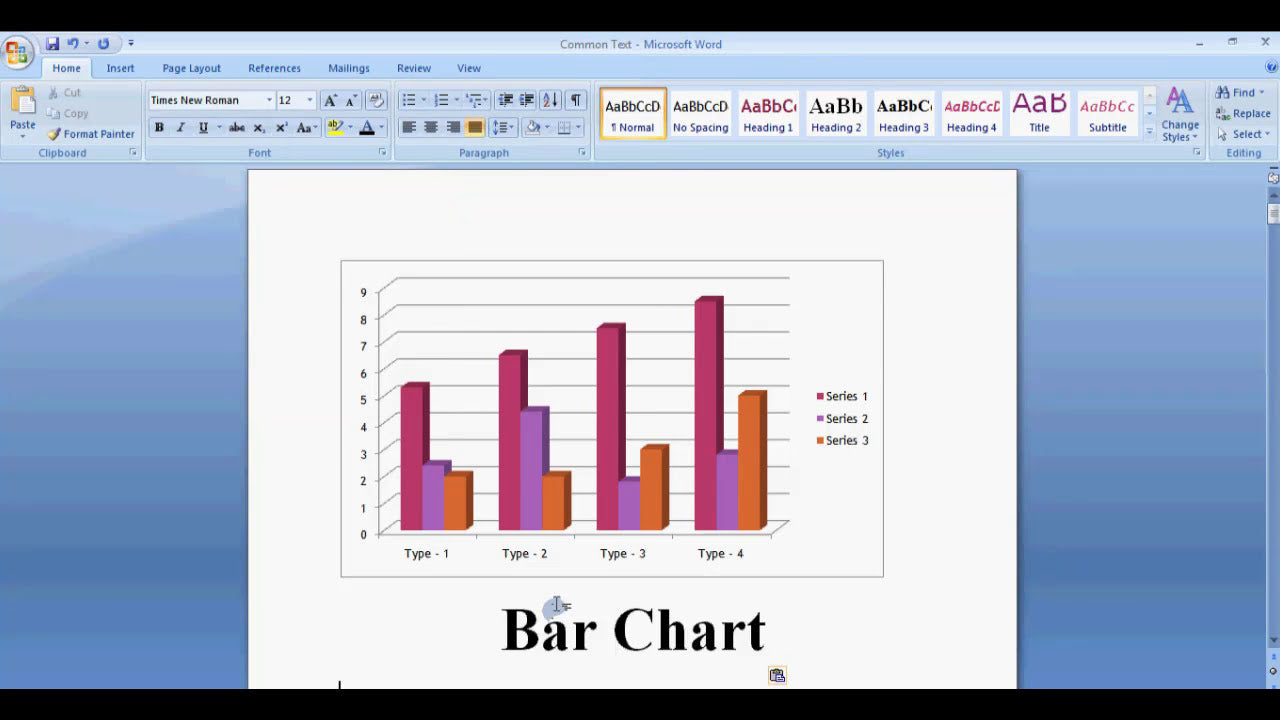
Microsoft Word is a versatile tool that offers a wide range of features to enhance your documents, making them more professional and visually appealing. One such feature is SmartArt, which allows you to create diagrams, flowcharts, lists, and other visual representations of information effortlessly. If you're wondering how to insert SmartArt into your Word document, this guide will walk you through the simple steps to do so, whether you're a beginner or looking to refine your document design skills.
How Do I Insert Smartart in Microsoft Word?
Inserting SmartArt in Microsoft Word is a straightforward process that enhances your document's clarity and visual appeal. Follow these steps to add SmartArt to your document:
Step-by-Step Guide to Insert SmartArt
- Open your Word document: Launch Microsoft Word and open the document where you want to insert SmartArt.
- Navigate to the Insert tab: On the Ribbon at the top of the window, click on the Insert tab to access various inserting options.
- Click on SmartArt: In the Illustrations group, find and click the SmartArt button. It resembles a diagram icon.
- Select a SmartArt Graphic: The Choose a SmartArt Graphic dialog box will appear. Browse through the categories such as List, Process, Cycle, Hierarchy, Relationship, Matrix, and Pyramid. Click on the category that best fits your data presentation needs.
- Pick a SmartArt Style: Within each category, select the specific SmartArt style you prefer by clicking on it. You can preview how it looks in the dialog box.
- Click OK: Once you've made your selection, click the OK button. The SmartArt graphic will be inserted into your document at the cursor's location.
Customizing Your SmartArt
After inserting SmartArt, you can customize it to better suit your needs:
- Add Text: Click on the placeholder text within the SmartArt graphic to enter your own content.
- Use the SmartArt Tools: When the SmartArt is selected, the SmartArt Design and Format tabs appear on the Ribbon, offering various customization options.
- Change Colors: Under the SmartArt Design tab, click on Change Colors to select a color scheme that matches your document style.
- Apply Styles: Choose from a variety of SmartArt styles to add effects such as shadows, reflections, and 3D effects.
- Add or Remove Shapes: Use the Add Shape or Remove Shape options to modify your diagram's structure.
Editing Text in SmartArt
To edit text within your SmartArt:
- Use Text Pane: Click the small arrow on the side of the SmartArt to open the Text Pane. This pane allows you to add, delete, or reorganize text easily.
- Direct Editing: Click directly on the shapes within the SmartArt to type or modify the text.
- Formatting Text: Highlight the text and use the standard font and paragraph formatting options on the Ribbon to customize appearance.
Additional Tips for Using SmartArt Effectively
- Choose the right SmartArt type: Select a diagram that best represents your data, such as a process for steps or a hierarchy for organizational charts.
- Keep it simple: Avoid cluttering your SmartArt with too much information; clarity is key.
- Consistent Style: Match the SmartArt style with the overall document theme for a professional look.
- Update as needed: Feel free to modify and update your SmartArt as your content evolves.
Summary: Key Points for Inserting SmartArt in Microsoft Word
To summarize, inserting SmartArt in Microsoft Word involves a few simple steps:
- Open your Word document and navigate to the Insert tab.
- Click on the SmartArt button within the Illustrations group.
- Select a SmartArt graphic from the categories presented.
- Click OK to insert it into your document.
- Customize your SmartArt using the SmartArt Tools, including changing colors, styles, and editing text.
SmartArt is a powerful feature that can elevate the presentation of your ideas, making complex information more digestible and visually appealing. With a little practice, you'll be able to insert and customize SmartArt effortlessly, enhancing the overall professionalism of your Word documents.
